Cascading Style Sheets are one of the most popular tools used to style web pages. We can make a simple web page look awesome with the help of Cascading Style Sheets (CSS). So, in order to use CSS, it is very important to know about the types of CSS as it helps us understand which type we should use to style our web pages. Hence, this discussion focuses on the types of CSS.
Also, we will have a unique approach to teach you about some of the basic CSS concepts like Selectors, Declarations, Classes in CSS, and IDs in CSS, along with an introduction to the different types of CSS simultaneously. Then, we will discuss the different types of CSS separately in detail, too.
What is CSS?
CSS is the short form for Cascading Style Sheets. It is used for styling web pages whose basic structure has been designed using HTML. Without CSS in our websites, they will look like simple HTML web pages and will not look attractive at all.
By using CSS, we can make a lot of normal beautification changes to our websites like changing the font style, changing the font size, changing the font colour, adding animations to text and images, setting a border to any image, the alignment of content on the web page, etc. For example, let us look at the 2 images shown below:


The above image is a screenshot of a website displaying “Hello World”. This is only the HTML text and there is no styling in it.

However, you can clearly see the second image where we have used CSS to style the heading written in plain HTML to make it look good and attract the users towards the website.
The HTML code for the second image is shown below:
<!DOCTYPE html>
<html lang="en">
<head>
    <meta charset="UTF-8">
    <meta http-equiv="X-UA-Compatible" content="IE=edge">
    <meta name="viewport" content="width=device-width, initial-scale=1.0">
    <title>Document</title>
</head>
<body>
    <h1>Hello World</h1>
    <h1 style="color: blueviolet; font-family:'Segoe UI', Tahoma, Geneva, Verdana, sans-serif;">Hello World</h1>
</body>
</html>
The above-shown code, which helps in setting the colour of the text to blue-violet and also changes the default font family to sans-serif is also a type of CSS that we are going to study. It is known as inline CSS. We will study this in detail in the later section of this article.
Some More Knowledge about CSS
CSS is often said to be a combination of selectors and declarations. What are selectors and declarations? Let us study them.
CSS Selectors and Declarations
A selector is nothing but an HTML Tag that we want to style and a declaration is a combination of a property and the value that is assigned to the property. For instance, in the code above, we have written the following line:
<h1 style="color: blueviolet; font-family:'Segoe UI', Tahoma, Geneva, Verdana, sans-serif;">Hello World</h1>
Here, <h1> is the selector as we are applying the changes to the property of h1 and “color: bluevoilet; font-family: ‘Segoe UI’,Tahoma,Geneva,Verdana,sans-serif”, is a declaration. It is a combination of properties and their values. Here, color is a property and ‘bluevoilet’ is the value of that property and similar is the case with the next property i.e. font-family.
Also, CSS selectors can be normal elements like h1, p, div, etc. but they can also be classes and IDs. Let us understand a little bit about the classes and IDs in CSS too.
Classes in CSS
We can assign a class to an element (tag) or a group of elements (multiple tags) to identify them and use them as selectors. For example, if we want to change the color of all the headings in the web page to blue, we can assign class = “blueHeadings” to every heading tag in the HTML page. Please note that the name “blueHeadings” is just a custom name, i.e. you can name your class anything. For instance, you may name it “Ice-Cream” if you want to. However, for the obvious reasons of understanding the code and increasing its readability, it is preferred that the names must be somewhat related to the properties that the class will possess.
The code below is for a web page when we have not applied CSS to the heading tags and the screenshot of the webpage is also shown below:
<!DOCTYPE html>
<html lang="en">
<head>
    <meta charset="UTF-8">
    <meta http-equiv="X-UA-Compatible" content="IE=edge">
    <meta name="viewport" content="width=device-width, initial-scale=1.0">
    <title>Document</title>
</head>
<body>
    <h1>Hello World</h1>
    <h2>Hello World</h2>
    <h3>Hello World</h3>
    <h4>Hello World</h4>
    <h5>Hello World</h5>
    <h6>Hello World</h6>
</body>
</html>


Now, let us apply the CSS class on all the headings to see the result.
<!DOCTYPE html>
<html lang="en">
<head>
    <meta charset="UTF-8">
    <meta http-equiv="X-UA-Compatible" content="IE=edge">
    <meta name="viewport" content="width=device-width, initial-scale=1.0">
    <title>Document</title>
    <style>
        .blueHeadings {
            color: blue;
        }
    </style>
</head>
<body>
    <h1 class="blueHeadings">Hello World</h1>
    <h2 class="blueHeadings">Hello World</h2>
    <h3 class="blueHeadings">Hello World</h3>
    <h4 class="blueHeadings">Hello World</h4>
    <h5 class="blueHeadings">Hello World</h5>
    <h6 class="blueHeadings">Hello World</h6>
</body>
</html>

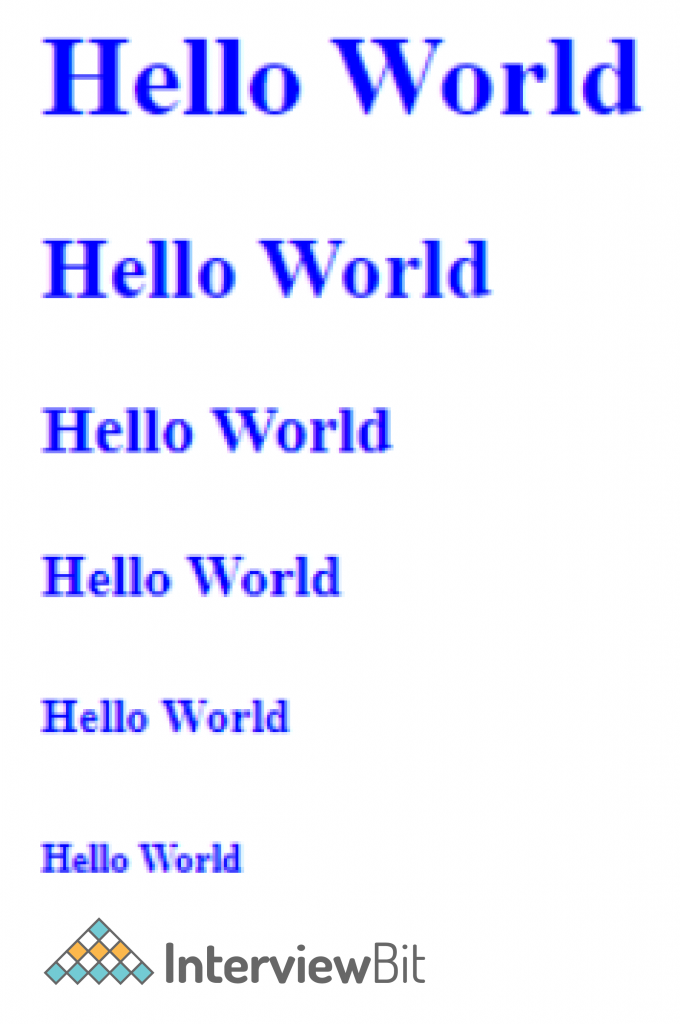
Now, the HTML code shown above has a <style> tag where we have applied the color blue to the class named “blueHeadings”. Also, in each heading tag, we have mentioned that the class is “blueHeadings”. So, we can see that the headings have a blue color and our styling was successful. The above-shown method of writing the CSS inside the style tag in the HTML file is called Internal CSS. So, this is another type of CSS and we will discuss this in detail, in the later sections of this article. Now, let us understand the meaning of a CSS ID.
ID in CSS
We discussed how we can apply a class to a number of HTML elements at the same time so that we can change the properties of multiple elements at the same time. However, if there are multiple elements/tags that are the same and we want to make changes only to a particular tag, we can assign it with an ID. As the name suggests, the ID is unique. This means that 2 elements cannot have the same ID in CSS.
Let us understand this with the help of an example. Let us say we have multiple h1 tags in our webpage as shown in the code, as well as the screenshot of the webpage below:
<!DOCTYPE html>
<html lang="en">
<head>
    <meta charset="UTF-8">
    <meta http-equiv="X-UA-Compatible" content="IE=edge">
    <meta name="viewport" content="width=device-width, initial-scale=1.0">
    <title>Document</title>
</head>
<body>
    <h1>I am H1.</h1>
    <h1>I am also H1.</h1>
    <h1> Me too.</h1>
    <h1>Hey man, me too.</h1>
</body>
</html>


Now, let us say that we want to change the color of the third h1 that says “Me too”, to blue. So, we can do it by setting an id to that h1 and leave the rest as it is and apply the style to that id. This is shown in the code below:
HTML Code:
<!DOCTYPE html>
<html lang="en">
<head>
    <meta charset="UTF-8">
    <meta http-equiv="X-UA-Compatible" content="IE=edge">
    <meta name="viewport" content="width=device-width, initial-scale=1.0">
    <title>Document</title>
    <link rel="stylesheet" href="style.css">
</head>
<body>
    <h1>I am H1.</h1>
    <h1>I am also H1.</h1>
    <h1 id="blueH1"> Me too.</h1>
    <h1>Hey man, me too.</h1>
</body>
</html
CSS Code:
#blueH1 {
    color: blue;
}

So, you can clearly see that we have applied the style successfully to the 3rd h1 tag only. You might have noticed that this time we have written the CSS code separately and have linked the CSS file using the <link> tag in the HTML Code. This is the 3rd type of CSS and is called External CSS. So, now we have understood some basic concepts of CSS, like the need for CSS, the CSS selectors and declarations, and CSS Classes and IDs. In between these topics, you have been introduced to the 3 types of CSS also viz. Inline CSS, Internal CSS, and External CSS. Now, let us move in-depth to understanding the types of CSS.
Types of CSS

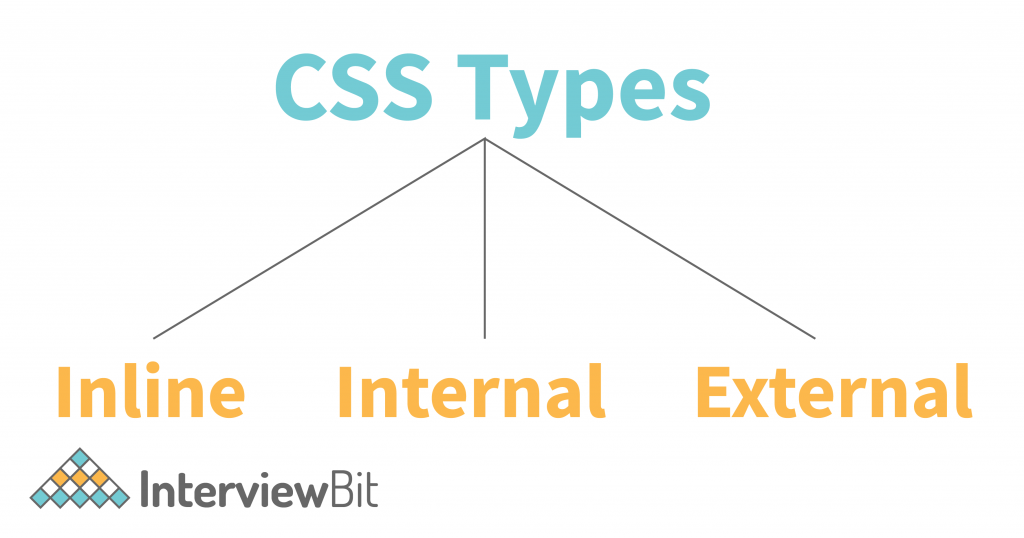
1. Inline CSS
Inline CSS means the CSS that is written within the HTML tag itself. As you saw in the example above, where we styled the Hello World heading with blue violet color, the entire CSS was written in the heading tag itself. Let us see another example for the same.
Say, we have a heading and we want to change the color of the heading to red. This can be done using inline CSS as follows:
<!DOCTYPE html>
<html lang="en">
<head>
    <meta charset="UTF-8">
    <meta http-equiv="X-UA-Compatible" content="IE=edge">
    <meta name="viewport" content="width=device-width, initial-scale=1.0">
    <title>Document</title>
</head>
<body>
    <h1 style="color: red;">I am a heading.</h1>
</body>
</html>


So, as you can see, inside the heading tag <h1> only, we wrote style = “color: ‘red’”. This means that we want to see the color of the heading red. So, this is inline CSS.
Disadvantage Of Inline CSS:
The inline CSS in a way does not separate the content from the design. In front-end web development, it is very clearly stated that the purposes of HTML, CSS and Javascript are unique and different from each other. The functionality of HTML is to provide structure to the webpage and the functionality of CSS is to give style and good appearance to the website. However, the functionality of Javascript is to make websites dynamic in nature and add functionalities to the web pages.
So, the major disadvantage of Inline CSS is that it does not provide us with a separation of concerns. Also, Inline CSS is difficult to read and write when understanding/writing the code for a website. Hence, we should try to avoid the use of inline CSS.
2. Internal CSS
In internal CSS, we still don’t have a separate file for writing CSS however, it is now separated from the HTML tags and not written within them. It can be considered as the type of CSS that lies in between inline and external CSS. The CSS code that we write for a web page should be written within the <style></style> tags under the head section of the HTML webpage.
So, let us try to change the colour of our heading “InterviewBit” to red, using internal CSS.
<!DOCTYPE html>
<html lang="en">
<head>
    <meta charset="UTF-8">
    <meta http-equiv="X-UA-Compatible" content="IE=edge">
    <meta name="viewport" content="width=device-width, initial-scale=1.0">
    <title>Document</title>
    <style>
        h1 {
            color: red;
        }
    </style>
</head>
<body>
    <h1>InterviewBit</h1>
</body>
</html>

Disadvantages of Internal CSS:
The complexity of writing CSS code inside the HTML tag has now been removed as we write the code in separate spaces and not within the same HTML tag. However, the separation of concerns is still not present as we are still writing the CSS code in the HTML file only. CSS and HTML should have separate files of their own so that we have complete separation of building the webpage and styling it.
3. External CSS
The external CSS solves the problem of separation of concerns completely as we have a separate file for writing the CSS code. We write the HTML code in the .html file and the CSS code is written inside a .css file. They are linked to each other using the <link> tag in HTML. The link tag is written inside the <head> tag of HTML. Its syntax is as follows
If HTML and CSS Files are within Separate Directories
<link rel="stylesheet" href="pathOfTheCssFile.css">
So, as you can see in the href attribute, you have to provide the path of that CSS file which you want to link to your HTML file. Also, if the HTML and CSS files are within the same directory (on the same hierarchy level) then you do not need to specify the whole path of the CSS file. Only the name.css will work.
If HTML and CSS Files are within the Same Directories
<link rel="stylesheet" href="nameOfTheCSSFile.css">
So, let us now try to color our heading “InterviewBit” with the red color using external CSS.
HTML Code
<!DOCTYPE html>
<html lang="en">
<head>
    <meta charset="UTF-8">
    <meta http-equiv="X-UA-Compatible" content="IE=edge">
    <meta name="viewport" content="width=device-width, initial-scale=1.0">
    <title>Document</title>
    <link rel="stylesheet" href="style.css">
</head>
<body>
    <h1>InterviewBit</h1>
</body>
</html>
CSS Code
h1 {
    color:red;
}
So, as you can see in the code above, we have linked the CSS file, style.css to the HTML file using the <link> tag and we have just used the name of the CSS file meaning that the CSS and HTML files are within the same directory.
So, these are the 3 types of CSS and the methods to use each one of them.
Conclusion
After understanding all the 3 types of CSS, we can say that External CSS is the most widely used type and it should be preferred because of 2 reasons:
- It provides the ease of writing the CSS code neatly and separately and does not create any confusion as the code is not to be written inside the HTML tags.
- The main reason is that External CSS provides separation of concerns as HTML is only meant for web page designing and CSS for styling purposes, and having a separate file for CSS and HTML helps us achieve that.